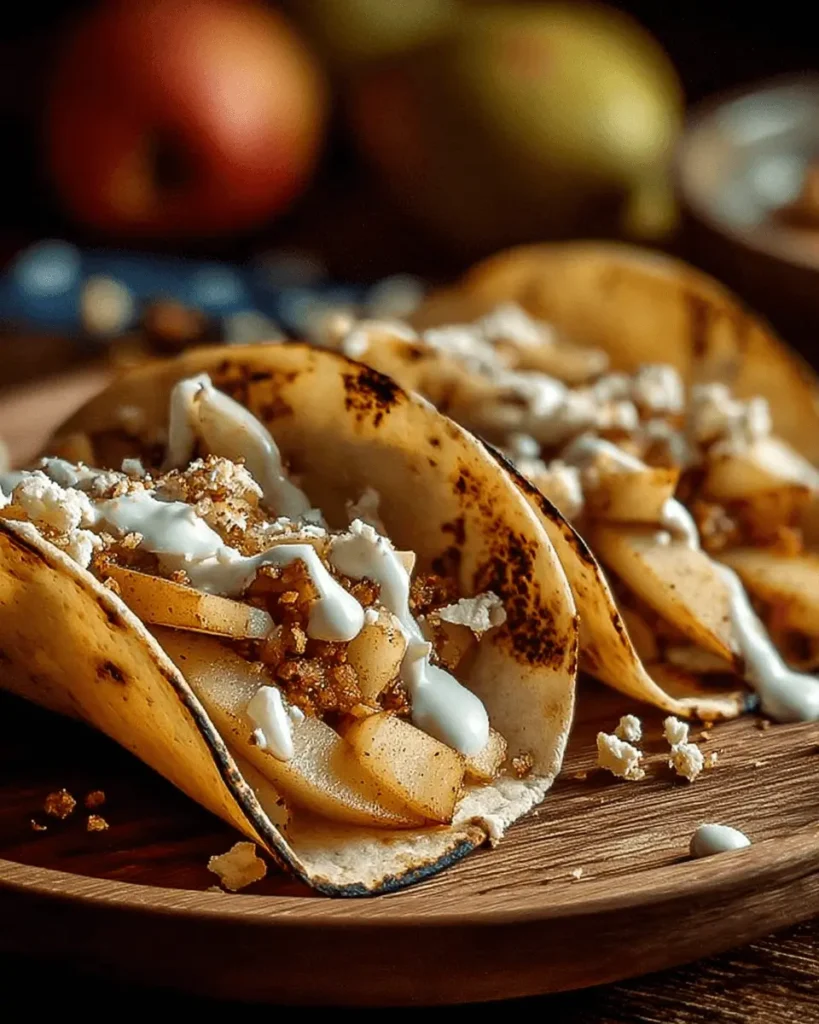
You know those days when your kid spills juice on the math homework, and the dog is barking at a squirrel? Yeah, that’s pretty much standard around my place. But amidst the chaos, I whipped up something UNREAL: Apple Cheesecake Tacos.
Now, you might be thinking, “Tacos for dessert?” Trust me, folks, once you try these, you’ll be ME? OBSESSED! I grew up learning that food is how we take care of each other, and just like mom did with her classic desserts, this twist is all about bringing warmth and comfort to the table.
I remember our family gatherings filled with the sweet smell of apple pie, but these tacos hit all the right notes with their creamy filling and spiced apples, wrapped in a crispy tortilla shell.
They’re not just showstoppers; they’re easy to make, and I guarantee they’ll vanish faster than you can say “taco time.” ALRIGHT, let’s dive into how you can make this masterpiece at home!
Why You’ll Love This Recipe
- Quick & Easy: You can whip these up in less than 30 minutes!
- Budget-Friendly: Uses simple ingredients you probably already have in your pantry.
- Kid-Approved: Perfect for dessert or an after-school snack.
- Crowd-Pleaser: Watch your family and friends come back for seconds (and thirds!).
- Something Different: It’s not your typical apple dessert; these tacos serve up a FUN twist!
Ingredients Needed and How to Make It
Ingredients Needed
For the Taco Shells:
- 6 small flour tortillas (fluffy and perfect for holding all those goodies)
- 2 tablespoons butter (melted; makes your tacos golden and crispy)
- 2 tablespoons sugar (for sprinkling)
For the Filling:
- 1/2 cup cream cheese (softened; so it’s easy to mix)
- 1/4 cup sour cream (adds that creamy tang)
- 1/3 cup sugar (to sweeten the deal)
- 1 teaspoon vanilla extract (for that aromatic warmth)
- 1 cup diced apples (grab your favorite, like Granny Smith for a tart bite!)
- 1/2 teaspoon ground cinnamon (the quintessential fall spice)
For Topping:
- Caramel sauce (for drizzling, because who doesn’t love a little sweetness?)
- Chopped nuts (for that added crunch)
How to Make This Recipe
Step 1: Preheat that Oven!
First things first, let’s preheat that oven to 350°F (175°C). Get it nice and toasty while you prep the rest of the goodies!
Step 2: Mix Up the Creamy Filling
Grab a bowl and mix together the softened cream cheese, sour cream, 1/3 cup of sugar, and vanilla extract. You want it smooth and creamy—think of it like a cloud! This will be the base of our tacos, and it tastes just SO GOOD!
Step 3: Get Those Apples Ready
In a different bowl, toss your diced apples with that fragrant ground cinnamon and the remaining 2 tablespoons of sugar. Let them mingle for a minute. This step adds a lovely sweetness that complements the creaminess of our filling.
Step 4: Create the Taco Shells
Brush each tortilla lightly with the melted butter, and sprinkle a little sugar over the top. Here’s a fun trick: mold them into taco shapes using an inverted muffin tin! Bake for 10-12 minutes or until they’re golden and crispy. Keep an eye on them; we want them crispy but not burnt.
Step 5: Assemble the Magic
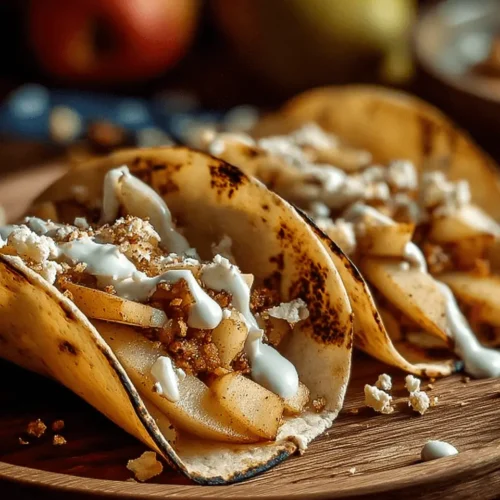
Once the taco shells are cooled off a tad, fill each one with that dreamy cream cheese mixture. Top it off with those delicious cinnamon apples, drizzle some caramel sauce on top, and finish with a sprinkle of chopped nuts.
And voilà! You’ve got Apple Cheesecake Tacos that’ll make your taste buds do a happy dance.
How to Store It & Expert Tips
How to Store It
These delightful tacos are best enjoyed fresh, but if you have leftovers (which is totally unlikely), you can store them in the fridge for about 2-3 days. Just remember, they’re best if you only assemble what you’re going to eat right away. If you want to save them for later, keep the filling and the shells separate until you’re ready to feast!
Expert Tips
- Flavor Boosters: Add a splash of lemon juice to the apples to keep them bright and prevent browning.
- Make It Your Own: Swap the apples for pears or even peaches in the summer!
- Freezing: You can freeze the taco shells for up to a month before baking. Just pop them in the oven when you’re ready to bake!
Conclusion
Trust me when I say these Apple Cheesecake Tacos are an absolute game changer. They’re simple, scrumptious, and have quickly made their way into our family traditions. I know you’ll love them, so please, give them a shot! And while you’re at it, drop a star rating and let me know how yours turned out in the comments below.
Oh, and make sure to share it with your cousin who never shows up empty-handed. Did you try adding your own twist? I wanna hear it!
FAQ Section
- What kind of apples work best? Here’s the deal: Tart apples like Granny Smith or Honeycrisp are fantastic! They hold up well and complement the sweet cream filling perfectly.
- Can I make this ahead of time? Real talk: You can prepare the filling and the taco shells separately in advance, but I recommend assembling right before serving for that fresh crunch!
- How do I reheat leftovers? If you’ve got leftover taco shells, just pop them back in a warm oven for a few minutes to crisp them up again. The filling can be heated gently in the microwave, but don’t overdo it!
Apple Cheesecake Tacos
Ingredients
For the Taco Shells
- 6 small flour tortillas
- 2 tbsp butter melted
- 2 tbsp sugar for sprinkling
For the Filling
- 0.5 cup cream cheese softened
- 0.25 cup sour cream
- 0.33 cup sugar
- 1 tsp vanilla extract
- 1 cup diced apples such as Granny Smith
- 0.5 tsp ground cinnamon
For Topping
- caramel sauce for drizzling
- chopped nuts optional
Instructions
- Preheat oven to 350°F (175°C). Lightly brush each tortilla with melted butter and sprinkle with sugar.
- Mold tortillas into taco shapes using an inverted muffin tin. Bake for 10–12 minutes until golden and crispy. Cool slightly.
- In a bowl, mix cream cheese, sour cream, 1/3 cup sugar, and vanilla extract until smooth and creamy.
- In another bowl, toss diced apples with cinnamon and remaining sugar until coated.
- Fill each cooled taco shell with the cream cheese mixture. Top with cinnamon apples, drizzle with caramel sauce, and sprinkle with chopped nuts.
Notes
- Best served fresh for maximum crunch.
- Store unassembled components separately in the fridge for up to 3 days.
- Add a splash of lemon juice to the apples to prevent browning, or swap apples for pears or peaches for a seasonal twist.