Crispy Cheesy Dill Pickle Chips
Crispy, cheesy bites that combine melted cheese and dill pickle chips for a perfect salty snack.

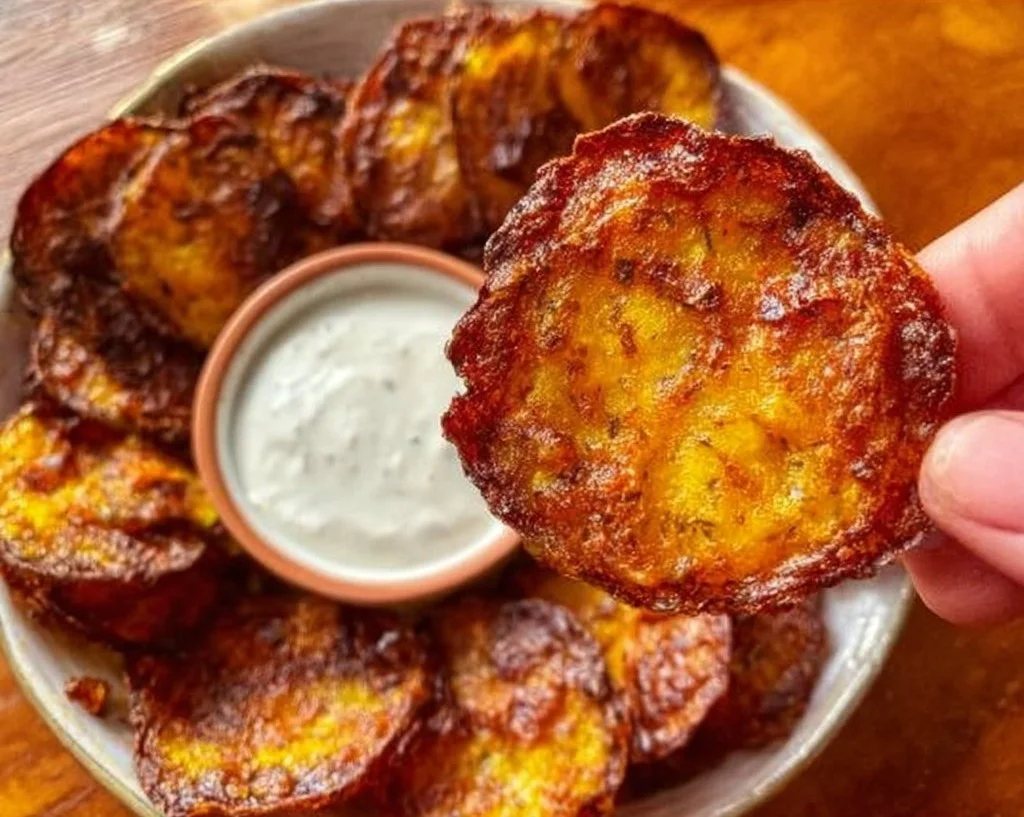
I make these Crispy Cheesy Dill Pickle Chips any time I want a salty, crunchy snack that disappears in minutes—game day, last-minute party, or a lonely afternoon craving. They’re stupidly simple: shredded cheese melts into golden cups that hug dill pickle chips for a salty-tangy bite. I like serving them hot from the oven with ranch or a peppery white sauce for contrast.
If you love quick, shareable finger foods, you’ll also enjoy my take on cheesy taco quesadillas for a different kind of snack-time indulgence: cheesy taco quesadillas.
Why you’ll love this dish
These cheesy pickle chips check a lot of boxes: they’re fast (about 20 minutes total), budget-friendly (cheese + pickles = huge flavor for little money), and kid-friendly—kids love the melty cheese while adults appreciate the dill kick. They’re also endlessly customizable: swap cheeses, change the seasoning, or top with turkey bacon for a party crowd-pleaser.
When to make them: serve as an appetizer at potlucks, add to alcohol-free beer-night grazing boards, or make a batch for a casual brunch. They’re also great for last-minute hosts because the assembly is almost instant.
Step-by-step overview
Before you start: preheat the oven to 400°F so it’s hot when the cheese goes in. Pat pickle chips dry so they won’t steam. The basic process is:
- Fill a nonstick 12-cup muffin tin with a pinch of shredded cheese.
- Nestle 2–3 pickle chips in each cheese bed.
- Season and top with more cheese to seal the pickles.
- Bake 15 minutes until the cheese is melted and browned.
- Optional: pop them in the air fryer for 5 minutes for extra crisp.
This overview prepares you for a fast assembly line: cheese, pickles, seasoning, cheese, bake.
What you’ll need
- 2 cups shredded cheese (Colby Jack is used here; see substitutions below)
- 24–36 dill pickle chips (amount depends on how many you put per cup)
- 1 tbsp blackening seasoning
Ingredient notes and swaps:
- Cheese: Colby Jack gives a nice melt and mild flavor. Sharp cheddar, Monterey Jack, or a mix with mozzarella will work too. For more salt and tang, add a little grated parmesan.
- Pickles: Use firm dill chips—if they’re super briny, rinse slightly and pat dry.
- Seasoning: Blackening seasoning brings heat and depth. Use smoked paprika + garlic powder if you don’t have it.
Directions to follow
- Preheat your oven to 400°F (204°C).
- Pat 24–36 dill pickle chips dry on paper towels to remove excess moisture.
- Spray a nonstick 12-cup muffin tin lightly with cooking spray if your tin isn’t nonstick.
- Put a generous pinch of shredded cheese into the bottom of each muffin cup.
- Press two or three pickle chips into each cheese bed so they sit flat.
- Sprinkle about 1/8 tsp of blackening seasoning (or to taste) over the pickles in each cup.
- Cover the pickles with more shredded cheese so they’re mostly sealed.
- Bake for 15 minutes, or until the cheese is fully melted and the edges are browned and crisp.
- OPTIONAL: Remove each cheesy pickle cup from the tin and place them in a preheated air fryer at 400°F for 5 minutes to increase crispiness.
- Serve immediately with your favorite dipping sauce—ranch or a tangy Alabama white sauce are top picks.
Short, actionable steps make assembly and timing easy to follow if you’re juggling other dishes.
Crispy Cheesy Dill Pickle Chips
- Prep
- 10 MIN
- Cook
- 15 MIN
- Total
- 25 MIN
- Serves
- 12
01Ingredients
For the Cheesy Dill Pickle Chips
02Method
- Preparation
- Assembly
- Baking
- Serving
Tap a step when it's done. The next one lights up.
0 OF 10 DONE03Recipe notes
- 01Store leftover baked pickle chips in an airtight container in the fridge for up to 3 days. Re-crisp in an air fryer or oven for best texture.
How did it turn out?
No ratings yet. Tap a star to be the first.
Snap a photo and tag @recipe_smoke1 so I can see how yours came out.
Best ways to enjoy it
Serve these as small plates or finger-foods on a wooden board or a simple platter. Pairing ideas:
- Dips: Ranch, blue cheese, or a tangy Alabama white sauce cut through the saltiness.
- Drinks: Crisp alcohol-free lagers or a citrusy soda balance the dill and fat.
- Sides: Add carrot sticks, celery, or a simple green salad to complete a spread.
- Use as a crunchy topper for burgers, beef hot dogs, or even a loaded baked potato for a playful twist.
For presentation, arrange them on parchment, garnish with chopped chives, and place dipping bowls in the center for easy grabbing.
Storage and reheating tips
Refrigeration: Store leftover baked pickle chips in an airtight container in the fridge for up to 3 days. Place layers separated with parchment to protect crisp edges.
Reheating: Re-crisp in an air fryer at 350–375°F for 3–5 minutes, or bake on a sheet at 375°F for 6–8 minutes. Microwave will heat them but make them soggy—avoid unless you’re in a rush.
Freezing: Not ideal once baked—the texture suffers. If you want to prep ahead, assemble unbaked cups on a baking sheet, freeze until solid, then transfer to a freezer bag. Bake from frozen, adding a few extra minutes, but note pickles may become softer.
Food safety: Refrigerate within 2 hours of baking and reheat to at least 165°F before serving.
Creative twists
- Cheese swaps: Try smoked gouda + sharp cheddar for a smoky profile, or pepper jack for heat.
- Add-ins: Sprinkle cooked turkey bacon bits or chopped pickled jalapeños between layers for savory/heat contrast.
- Pickle swap: Use bread-and-butter chips for a sweeter, tangy bite.
- Vegetarian: Keep it simple with cheese and pickles; it’s already vegetarian-friendly.
- Salad topping: Crumble a few cooled chips over a wedge salad to add crunch and tang.
- Want more pickle-forward recipes? Try a dill-pickle-centric chicken salad riff for lunch ideas: flavored dill pickle chicken salad.
FAQ
How long does this take to make from start to finish?
A: Plan on about 20–25 minutes total: 5–10 minutes assembly (depending on speed) and 15 minutes baking. Add 5 minutes for the optional air-fryer crisp.
Can I make these ahead for a party?
A: You can assemble them and refrigerate for up to a few hours before baking, but for best texture bake right before serving. If pre-baking, re-crisp in the air fryer right before guests arrive.
Are these gluten-free?
A: Yes—if you use gluten-free seasoning and a gluten-free label on any optional add-ins. Always check labels on pre-shredded cheeses and spice blends.
What cheese melts best?
A: Colby Jack, Monterey Jack, and mild cheddar melt nicely. Mixing in a bit of mozzarella improves stretch, while adding parmesan gives a savory edge.
Can I make them in a silicone muffin pan?
A: You can, but baked cheese tends to stick less predictably in silicone. Lightly spray the cups and allow the cups to cool a few minutes before removing.
Conclusion
If you want another take on this crunchy concept, check the original inspiration for similar techniques at Crispy Cheesy Dill Pickle Chips – Slice of Jess. Looking for more? Try my Air Fryer Spicy Dill Pickle Chips Recipe.
 Appetizer
 Appetizer
 Appetizer
