Ultimate Crispy Chicken Sandwich
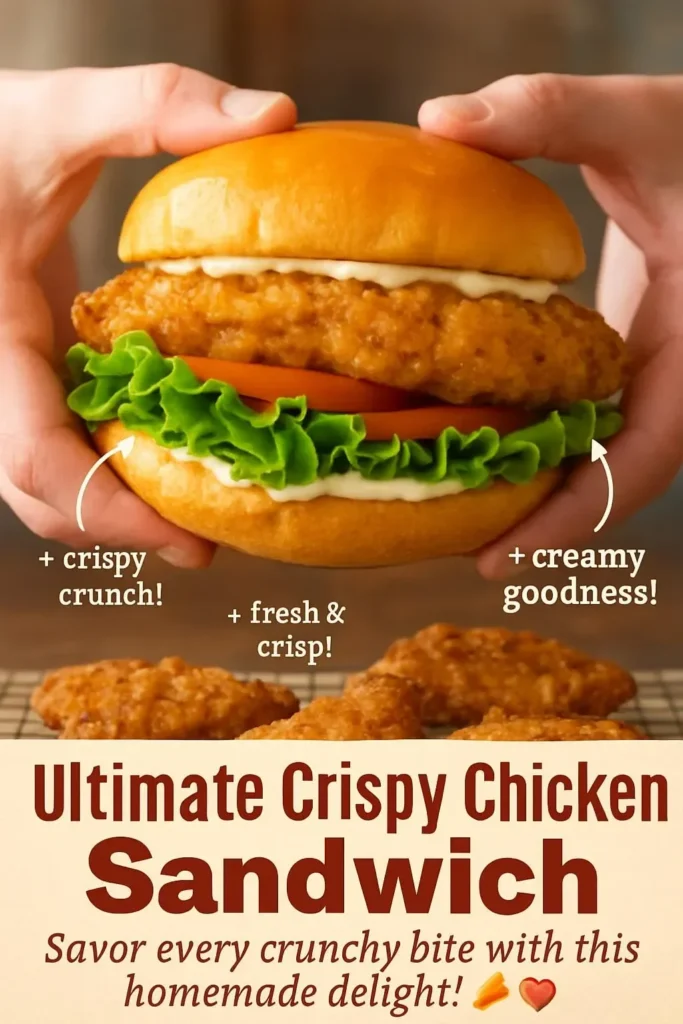
This Ultimate Crispy Chicken Sandwich features a crispy exterior, juicy chicken interior, and simple fresh toppings, all ready in under an hour.

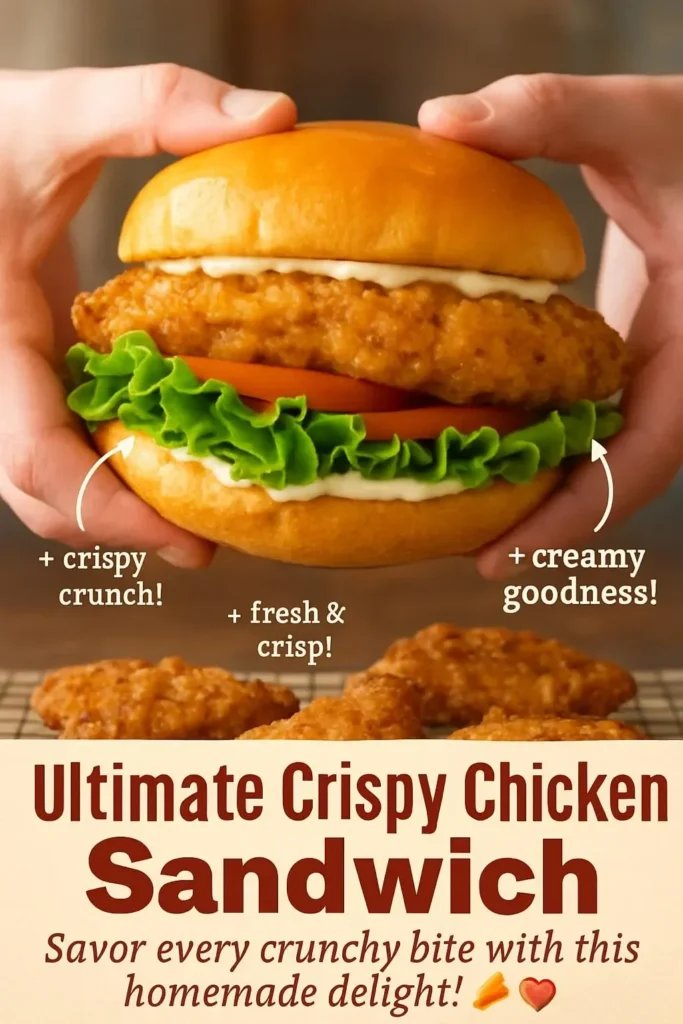
I still remember the first time I bit into this crispy chicken sandwich — the crunch, the warm juicy interior, the tang from the pickles and buttermilk tang all popped together in a way store-bought versions rarely do. It’s the kind of sandwich I make when I want something comforting but quick: weeknight dinner, weekend lunch that feels special, or a simple recipe to impress friends without fuss. If you enjoy bold chicken flavors, you might also like this twist on grilled chicken in a sandwich-friendly format: BBQ chicken grilled cheese sandwich — it pairs the same weeknight ease with big flavor.
Why you’ll love this dish
This sandwich hits a few sweet spots: it’s crispy, juicy, and approachable. The buttermilk does the heavy lifting by tenderizing the chicken while giving a subtle tang. The seasoned flour creates a golden crust that contrasts perfectly with soft buns and fresh lettuce and tomato.
Reasons to try it:
- Quick to assemble once the chicken has marinated (marinate for at least 1 hour).
- Budget-friendly: two chicken breasts and pantry spices make multiple satisfying sandwiches.
- Family-friendly — swap toppings for kids or spice it up for grown-ups.
- Highly adaptable: bake or air-fry if you prefer less oil.
Step-by-step overview
Before you start, here’s what happens: you marinate the chicken in buttermilk to tenderize, toss the breasts in a seasoned flour mix for a crunchy coating, pan-fry them until golden and cooked through, then stack on a bun with lettuce, tomato, and pickles. Expect about 1 hour of passive marinating time and roughly 20–30 minutes of active cooking and assembly.
What you’ll need
- 2 chicken breasts (boneless, skinless) — halve or pound if very thick
- 1 cup buttermilk (substitute: 1 cup milk + 1 tbsp vinegar, let sit 5 minutes)
- 1 cup all-purpose flour (or 1:1 gluten-free flour blend)
- 1 teaspoon paprika
- 1 teaspoon garlic powder
- 1 teaspoon onion powder
- 1 teaspoon salt
- 1/2 teaspoon black pepper
- Vegetable oil (for frying) — neutral oil with a high smoke point
- Hamburger buns
- Lettuce
- Tomato
- Pickles
Notes: For extra crunch, you can mix in 1/2 cup panko with the flour. If you prefer dark meat, boneless thighs work and stay more forgiving when frying.
Step-by-step instructions
- Place the chicken breasts in a bowl and pour over the buttermilk. Cover and refrigerate for at least 1 hour (up to overnight).
- In a shallow bowl, whisk together the flour, paprika, garlic powder, onion powder, salt, and black pepper.
- Pour about 1/2 inch of vegetable oil into a large frying pan and heat over medium until shimmering (about 350°F/175°C if using a thermometer).
- Remove each chicken breast from the buttermilk, letting excess drip off, then press into the flour mixture to coat well. Shake off excess flour.
- Place the coated breasts in the hot oil. Fry until a deep golden brown and the internal temperature reaches 165°F (74°C), about 5–7 minutes per side depending on thickness.
- Transfer fried chicken to a wire rack set over a sheet pan to drain and stay crisp for a couple of minutes.
- Toast the buns lightly, then assemble: bun, fried chicken, lettuce, tomato slices, pickles, top bun.
- Serve immediately while hot and crunchy.
01Ingredients
Marinating Ingredients
Coating Ingredients
Assembly
02Method
- Marinating
- Coating
- Frying
- Assembly
- Serving
Tap a step when it's done. The next one lights up.
0 OF 8 DONE03Recipe notes
- 01For extra crunch, mix in 1/2 cup panko with the flour. If you prefer dark meat, boneless thighs work better when frying.
How did it turn out?
No ratings yet. Tap a star to be the first.
Snap a photo and tag @recipe_smoke1 so I can see how yours came out.
Best ways to enjoy it
- Pair with crispy fries, sweet potato wedges, or a light slaw to cut the richness.
- For sauce options: classic mayo, spicy sriracha mayo, or honey mustard work beautifully.
- For plating: place the sandwich on a small wooden board with a stack of pickles on the side and a sprinkle of flaky salt on the tomato slices.
- Serve with an iced tea or a cold alcohol-free beer for a casual meal, or a crisp lemonade for a family-friendly combo.
Storage and reheating tips
Refrigerate leftovers in an airtight container for up to 3–4 days. Keep the chicken separate from buns and fresh toppings if possible.
To reheat and keep crisp: preheat oven to 375°F (190°C) and bake the chicken on a rack for 8–10 minutes, flipping once, until heated through.
To freeze: wrap cooked chicken breasts tightly in plastic wrap and place in a freezer bag for up to 2 months. Thaw overnight in the fridge before reheating.
Food safety: always check that reheated chicken reaches 165°F (74°C). Discard any cooked chicken left out at room temperature for more than 2 hours.
Creative twists
- Nashville-style: add cayenne and a touch of brown sugar to the flour, and brush the fried chicken with spicy oil before serving.
- Buttermilk-panko crust: replace half the flour with panko for an extra crunchy bite.
- Oven-baked: spray coated chicken with oil and bake at 425°F (220°C) for 20–25 minutes, flipping halfway.
- Gluten-free: use a 1:1 gluten-free flour and gluten-free panko.
- Topping swaps: coleslaw, pickled red onions, cheddar cheese, or a fried egg transform the sandwich into a different experience.
Common questions
How long does this recipe take, start to finish?
A: Active prep and cooking time is about 25–35 minutes. Add at least 1 hour for buttermilk marinating (you can marinate up to overnight).
Can I use frozen chicken?
A: Yes — fully thaw frozen chicken completely in the refrigerator before marinating. Do not marinate frozen chicken; it must be thawed first for even brining and proper cooking.
Can I bake instead of frying?
A: Absolutely. Spray the coated chicken with oil and bake at 425°F (220°C) for 20–25 minutes, flipping halfway. It will be slightly less rich but still tasty and much lower in oil.
Why did my coating fall off while frying?
A: Likely causes are: excess moisture (shake off buttermilk), not enough flour adhesion (press the flour onto the chicken), or oil temperature too low. Try a light pre-dust of flour before the buttermilk for stubborn cases.
How do I keep the sandwich from getting soggy?
A: Drain the chicken on a wire rack, toast buns, and add wet toppings (tomato, pickles) just before serving. Consider putting a thin layer of mayo or butter on the bun as a moisture barrier.
Conclusion
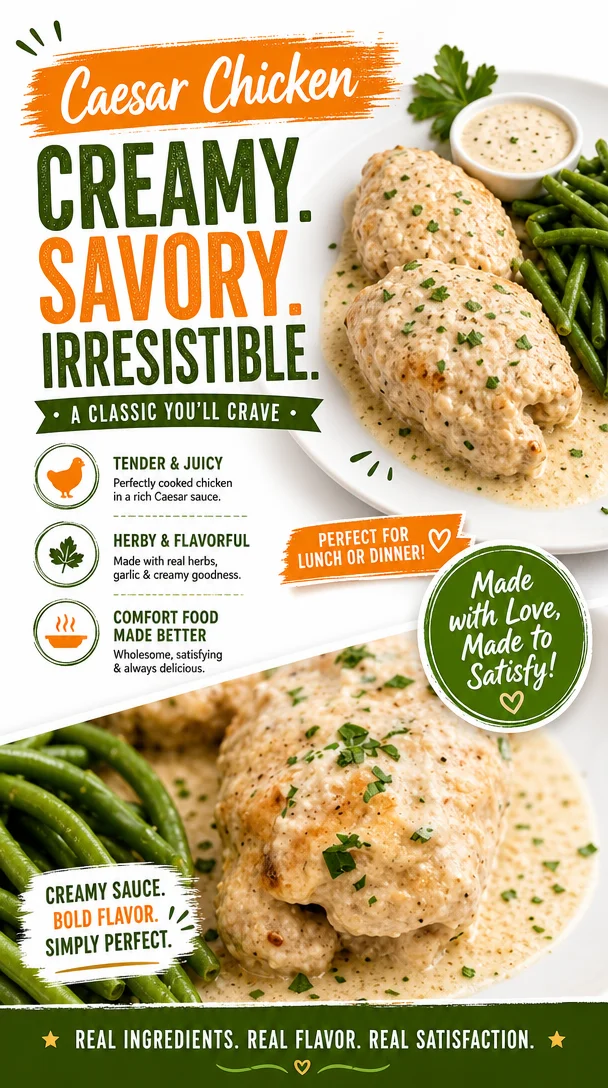
This Ultimate Crispy Chicken Sandwich is a dependable go-to — crispy crust, juicy interior, and simple toppings that let the chicken shine. For more ideas, check out Classic Fried Chicken Sandwich and my Crispy Chicken Caesar Sandwiches with Savory Garlic Flavor.
 Skillet Dinners
 Chicken
 Skillet Dinners
