Easy Giardiniera Recipe
This bright and crunchy giardiniera is perfect for adding tangy flavor to sandwiches, salads, and snacks, with a quick preparation and no canning required.

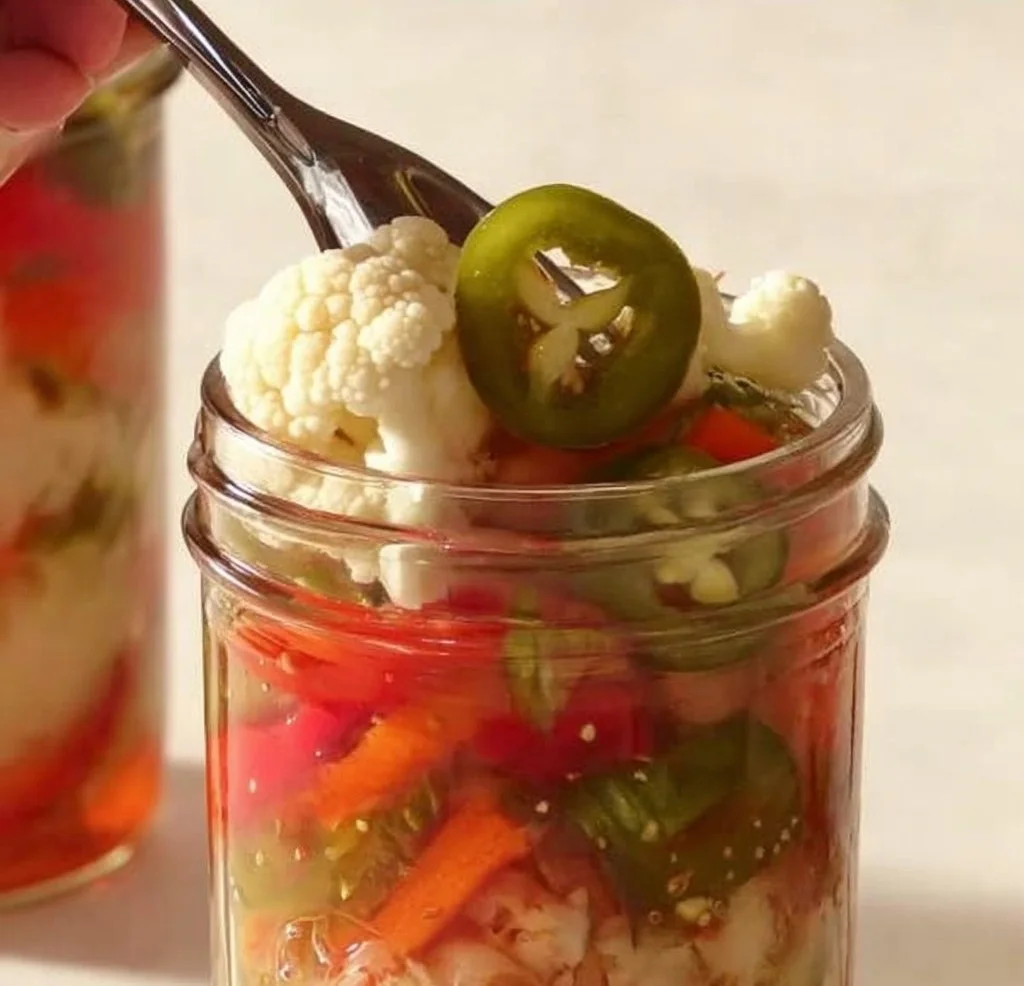
I’ve been making this quick giardiniera for years whenever I want bright, crunchy pickles that wake up sandwiches and snacks. It’s fast to put together, uses everyday produce, and stores in the fridge — perfect for weeknight meal upgrades or a last-minute antipasto board. If you love a tangy, slightly spicy crunch on burgers and sliders, this is the jar you’ll reach for; it’s even great next to cozy soups like cheeseburger sliders for an easy flavor boost.
What makes this recipe special
This giardiniera is all about speed and texture. No long canning process — heat a simple brine, pour it over crisp veggies, and chill. The result is a bright, slightly sweet-and-sour mix with mustard seed pops. It’s ideal when you want pickled crunch without a weekend-long project.
Why people reach for this recipe:
- Fast: brine takes minutes; assembly is mostly chopping.
- Budget-friendly: uses common vegetables you likely have on hand.
- Versatile: great on sandwiches, salads, boards, or as a zippy side.
- Make-ahead friendly: develops flavor after 24 hours and keeps for weeks in the fridge.
Step-by-step overview
Before you dive into the ingredient list, here’s how this comes together:
- Heat a simple brine of vinegar, water, salt, sugar, and mustard seeds until it boils, then remove from heat.
- Chop the vegetables into bite-size, uniform pieces.
- Divide the vegetables into three 2-cup wide-mouth jars.
- Spoon mustard seeds into each jar, then pour the slightly-warm brine over the veggies.
- Let the jars cool to room temperature, seal, and refrigerate at least 24 hours before eating.
This gives you the big picture so you can scan the process and know exactly what to expect.
Key Ingredients
- 2 large carrots — peeled and sliced diagonally for good surface area (or use baby carrots in a pinch)
- 1/2 head of cauliflower — cut into small florets
- 1/2 a red bell pepper — sliced into strips
- 3 stalks of celery — sliced on the diagonal
- 1 jalapeño — optional, sliced (remove seeds for milder heat)
- 1 cup vinegar — white distilled is traditional; apple cider vinegar adds a fruitier note
- 2 1/2 cups water
- 2 tsp salt — kosher or pickling salt preferred
- 2 tsp sugar — balances the vinegar; omit or reduce for less sweet
- 2 tsp mustard seeds — gives texture and flavor; substitute with coriander seeds for a different aroma
Notes: if you want a lower-sodium option, reduce salt to 1 tsp and taste the brine before pouring. For extra color and flavor, add a few peppercorns or a clove of crushed garlic.
Directions to follow
- Combine brine: Pour the vinegar, water, salt, sugar, and mustard seeds into a saucepan.
- Heat until boiling: Place over medium-high heat and bring the mixture to a boil.
- Turn off heat: As soon as it boils, stir gently and remove from heat. Let the brine cool a bit while you prep the vegetables.
- Prep vegetables: Chop cauliflower into small florets. Slice carrots and celery on the diagonal into even slices. Slice the bell pepper into strips. If using, slice the jalapeño and remove seeds for milder pickles.
- Pack jars: Divide the prepared vegetables among three 2-cup wide-mouth jars, packing them snugly but not crushed.
- Add mustard seeds: Spoon some of the mustard seeds from the brine into each jar so each jar gets even flavor.
- Pour brine: Pour the slightly warm brine over the vegetables, leaving about 1/2 inch headspace.
- Cool and seal: Let the jars cool completely at room temperature. Then screw on the lids and place the jars in the refrigerator.
- Wait before eating: Allow at least 24 hours for flavors to meld. Flavor improves over several days.
This recipe is for refrigerator pickles, not shelf-stable canning. Do not process in a water bath unless you follow tested canning instructions.
01Ingredients
Vegetables
Brine
02Method
- Preparation
Tap a step when it's done. The next one lights up.
0 OF 9 DONE03Recipe notes
- 01This recipe is for refrigerator pickles, not shelf-stable canning. Do not process in a water bath unless you follow tested canning instructions. For extra color and flavor, add a few peppercorns or a clove of crushed garlic. Store in the refrigerator and consume within 3-4 weeks for best texture and flavor. Freezing is not recommended.
How did it turn out?
No ratings yet. Tap a star to be the first.
Snap a photo and tag @recipe_smoke1 so I can see how yours came out.
Best ways to enjoy it
- Sandwiches: Pile it on roast beef, Italian beef, or turkey for a tangy crunch.
- Antipasto and boards: Serve alongside olives, beef salami, and cheeses.
- Topping: Add a spoonful to salads, grain bowls, or even tacos for brightness.
- Side for soups: Brighten creamy bowls — it pairs wonderfully with hearty soups like broccoli cheese soup for contrast.
- Snack: Eat straight from the jar as a crunchy, low-calorie snack.
How to store & freeze
Refrigerate only: This recipe is intended for fridge storage. Place sealed jars in the refrigerator after cooling.
Shelf life: Use within 3–4 weeks for best texture and flavor. The vegetables slowly soften over time.
Freezing: Not recommended. Freezing ruins the crunch and texture of these pickled vegetables.
Safety: Always use clean jars and utensils. If anything smells off or shows mold, discard immediately.
If you want longer shelf stability, follow a tested water-bath canning recipe and proper sterilization procedures; this quick method is for convenience and fridge storage.
Creative twists
- Spicy: Add red pepper flakes, sliced fresno chiles, or a chopped habanero for real heat.
- Herb-forward: Toss in fresh oregano, thyme, or dill for herb notes.
- Mediterranean: Add olives and a splash of lemon juice for a briny, citrusy twist.
- Low-sugar: Omit the sugar and add a tiny bit of stevia or simply accept a more tart profile.
- Vegan charcuterie: Add roasted garlic cloves and capers for a punchy vegan antipasto.
Your questions answered
How long before these are ready to eat?
A: They’re safe immediately but much better after 24 hours. Flavor deepens over 2–3 days.
Can I use apple cider vinegar instead of white vinegar?
A: Yes. Apple cider gives a milder, fruitier tang. White distilled vinegar yields a sharper classic pickle flavor.
Do I need to sterilize the jars?
A: For refrigerator pickles, thorough washing with hot soapy water is fine. If you plan to shelf-stable can, follow tested canning sterilization and processing procedures.
How spicy will this be with a jalapeño?
A: Mild to moderate if you remove seeds. Leave seeds in (and add more chiles) for more kick.
How long will they keep in the fridge?
A: For best texture and flavor, eat within 3–4 weeks. Always check for off smells or mold.
Conclusion
This quick giardiniera is a fridge-friendly way to add crunchy, tangy flavor to meals without canning. For more ideas, check out The Daring Gourmet’s giardiniera recipe.
 Appetizer
 Appetizer
 Appetizer
